Posts Tagged ‘toddler spring craft’
Ladybug, ladybug
Posted on: June 23, 2009
(I always liked pompom animals. They seem so much fun, so cute. Evan likes carrying them around and naming them. So I decided we needed to make lady bug ones. This was an easy, simple craft that both boys enjoyed, which turned out to have no mess.)
Things you need:
- Red 1 in pompom (or 2in)
- Black mini pompoms
- Black marker
- Googly eyes
- Glue
Have the child make black dots on the red pompom. The child might have to swirl around the marker to make a good size dot.

Making spots
Glue on the eyes.

He can see!
Then glue the mini pompoms on the top to make antennas.

Now he is a true bug.
Evan decided he needed to decorate his bug more, so he added a mini red pompom for an earing.

The ladybugs
Plastic Egg Heads
Posted on: June 22, 2009
(I always liked those cute little egg shell planters. I once read that cutting grass was an easy way for children to learn how to cut. So I combined the two projects. Since I was going to let Evan cut the grass, I figured I better use plastic egg cups. Luckily these ones even had holes. The boys loved doing this because they got to color with markers and play with the dirt. How awesome is that!)
Things you need:
- Egg carton
- Plastic Easter egg shells
- Markers
- Dirt
- Grass seed
- Spoon
- Water
Take the plastic eggs and have the child draw faces on the eggs. (I wanted to add googley eyes, but Evan nixed that idea.)

Decorating eggs
Place the eggs in the egg carton, so that they cannot be tipped over.

See, mine had a face.
Have the child place some dirt in the eggs with the spoon.

There's a reason I suggested a spoon
Have the child put in enough grass seed to cover the area.

You might want to do this outside
Have the child put on a slim covering of dirt. (Um, we missed that step. We had too much dirt to begin with.)

Grow, baby, grow
Let the child water the plants and take care of them. (Unfortunately we only had three blades of grass grow. We’re redoing this planting experiment.)
Butterfly Kites
Posted on: June 5, 2009
(I got this idea off of Family Fun. But I decided to do it using coffee filters, which was more fun and messy. The boys loved building these and playing with them. It makes walking to get the mail more fun.)
Things you need:
- Smock
- 2 coffee filters
- Markers
- Bowl of water
- Paint brush
- Scissors
- Pipe cleaner
- Yarn
Have the child color the coffee filters with markers. The more color, the more fun.
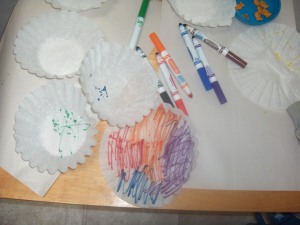
Colored coffee filters
After the child is done decorating the filters, have the child paint them with water, making the colors run.
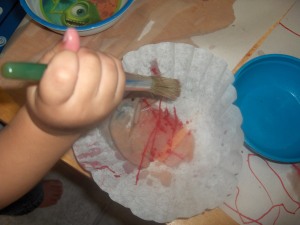
Water painting filters
Let the filters dry. Fold the filters in half to cut out half a butterfly making the wings even on both sides. (I wish I could have found a template.) Do not make a head or tail because the pipe cleaner will do that.
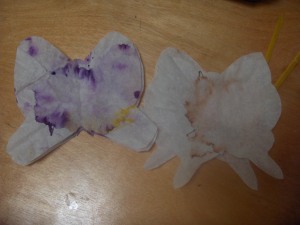
Butterfly cutouts
Have the child fold the pipe cleaner in half and slip the butterfly wings between it.
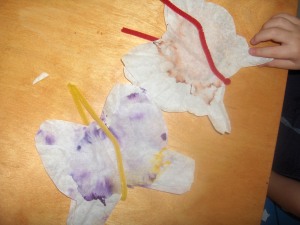
The bodies are forming
Cross the ends of the pipe cleaner to form antenna. You can bend them into little nubs if you like.

Almost done. Now where's that yarn?
Tie a piece of yarn to the pipe cleaner, long enough to fly the kite behind the child. If the child wants to flutter the kite, tie two short pieces of yarn to the pipe cleaner.
Wall Drawings
Posted on: June 4, 2009
Looking for something different to do? Have your child draw with chalk on the walls.
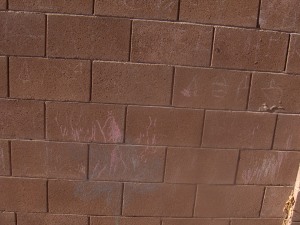
The latest in backyard artwork
Planting
Posted on: June 3, 2009
(I don’t know one kid who doesn’t like getting dirty. For young children, like my boys, I would recommend starting out with a plant; while, older kids have more patience and would enjoy starting a plant from seed.)
Things you need:
- A pot
- Potting soil
- Pebbles
- A plant or seeds
- A small shovel
- Water
Have the child cover the bottom of the pot with pebbles to allow good drainage. Then have the child shovel the soil half way in the pot.

A pot filled half way
Have the child place the plant or seeds in the pot.

The flower
Have the child fill the pot with soil with the shovel or hands. Water the plant as needed.
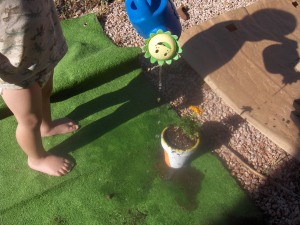
Watering the plant
(Encourage your child to talk and sing to the plant as this will help the plant grow better.)
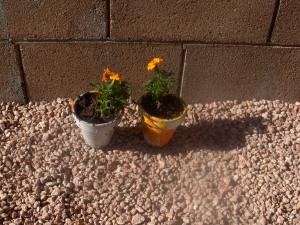
The growing flowers
Painting Pots
Posted on: June 2, 2009
(Nothing like a little gardening to get the kids interested in the great outdoors and possibly vegetables. Before I dug a hole, I thought the boys would like to paint their own special pot. This would also make a great gift. The boys loved doing this.)
Things you need:
- Terra Cotta Pot
- Primer
- White paint
- Washable paint
- Paint brushes
- Smock
- Sealer (optional)
Primer the pot, and then paint it white (or any color you or your child would prefer as the background). Allow the pot to dry. Have the child paint the pot with the washable paints.
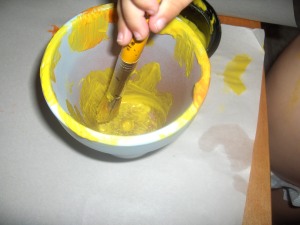
Sean decided to paint the inside of the pot

Because Evan did
Allow the pot to dry. If you want this work of art to last, seal the pot.
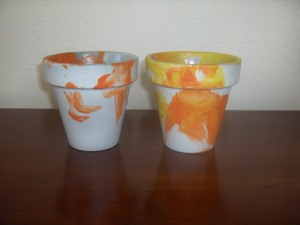
The finished product
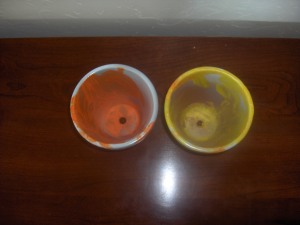
The inside of the finished product
Rock Paper Holders
Posted on: May 20, 2009
(Did I mention we picked up a lot of rocks on our nature walk? We decided to make some paper weights. We made some a few months ago for their grandparents. We glued on some of those half-marbles. This time Sean decided on shells from a shell lei. This is an easy project for 12 month old on up.)
Things you need:
- Rocks
- Smock
- Paint or markers
- Glue
- Glitter (optional)
- Shells, buttons, plastic gems, beads, whatever you like to add
Go on a rock hunt with the kids. Wash and dry the rocks. Have the child decorate the rock.

Painting and glittering a rock
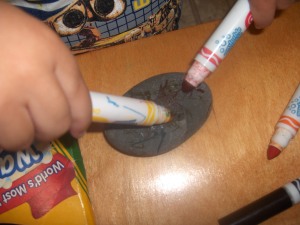
Coloring a rock with markers
Let the rock dry. Glue on the little knick knacks.
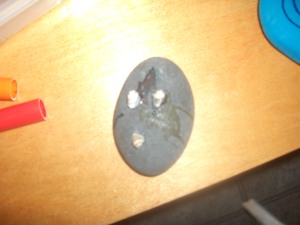
Rock with shells
Pet Rocks
Posted on: May 19, 2009
(There’s nothing like a pet, especially a pet rock. We have a great time looking for rocks. Then we wash them, dry them, and decorate them. The boys love rock hunting. They enjoy the painting too. This is a fun, easy project. And you can do it over and over because you can make all kinds of pets.)
Things you need:
- Smock
- Rocks
- Paint (or markers)
- Glue
- Googly eyes
- Random other stuff like buttons, plastic gems, shells, whatever you want to add (optional)
Find some rocks with the kids. Have the child wash the rock. Allow the rock to dry. Have the child paint the rock (or color it).
- Evan’s rock
- Sean’s Rock
- My rock
- Evan’s tiger rock and my rock (not pictured: Sean’s rock, which was in his hands)
Allow the rock to dry. You can have the child decorate the rock with markers. (Evan made a tiger rock. I messed around.) Glue on eyes.
If you want to make you pet rock more unique, glue on other fun stuff.
Natural Collage
Posted on: May 15, 2009
(This is another craft we’ve done twice. Since we recently moved to another city with completely different vegetation, I thought this was a great way to learn more about the plants in the area. The boys just LOVE picking flowers and leaves. This is an easy craft that the boys like doing. There is no mess. I found this craft at Family Fun, which is a great site. Note to self, must add a blog roll. Also you can flatten the materials, but if you don’t the buds can rot. Younger children, like around 12 months to 18 months, easily get stuck to the contact paper.)
Things you need:
¨ Plant material
¨ Clear contact paper
¨ Marker
¨ Scissors
¨ Hole puncher (optional)
¨ Ribbon (optional)
Go hunting with your child for interesting art material. Trace the shape of your collage on the clear contact paper. (I like circles, so I traced a plate.) Don’t cut out the shape, but do cut around it. Peel the paper. Have the child decorate inside the shape with the plant trimmings.
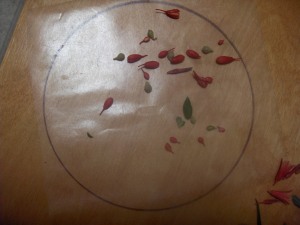
Sean puts on the buds
Cover the trimmings with another piece of contact paper.
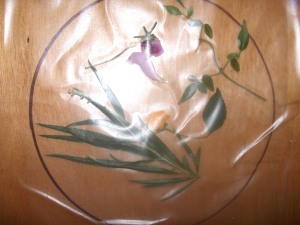
Evan prefers a larger variety. Notice the covered collage.
Cut the shape out. If you would like, punch a hole in the collage and tie a ribbon through the hole. I’m easy; I hung them up on our window with tape.

Aren't they pretty?
Pom Pom Caterpillar
Posted on: May 14, 2009
(These are really fun to make and play with. We’ve actually done these twice. Evan loves to play with what he makes. Sean just likes to get messy as he makes things. This is an easy craft, and it is not very messy.)
Things you need:
- Six to seven 1 in pom poms
- Popsicle stick
- Glue
- Black marker or goggly eyes
- Mini pom poms (optional)
- Magnet (optional)
Have the child put glue on the Popsicle stick.

Gluing the pom poms
Have the child place pom poms on the stick.

Making a colorful bug
Have the child mark the eyes with a marker or help the child glue the eyes. Glue the mini pom poms on the head for antenna. If you would like, glue a magnet on the bottom of the stick when the caterpillar is dry.
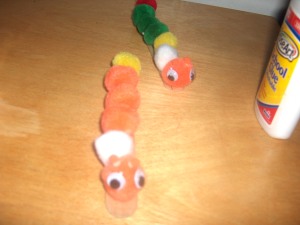
Two cute caterpillars crawling along
